Function
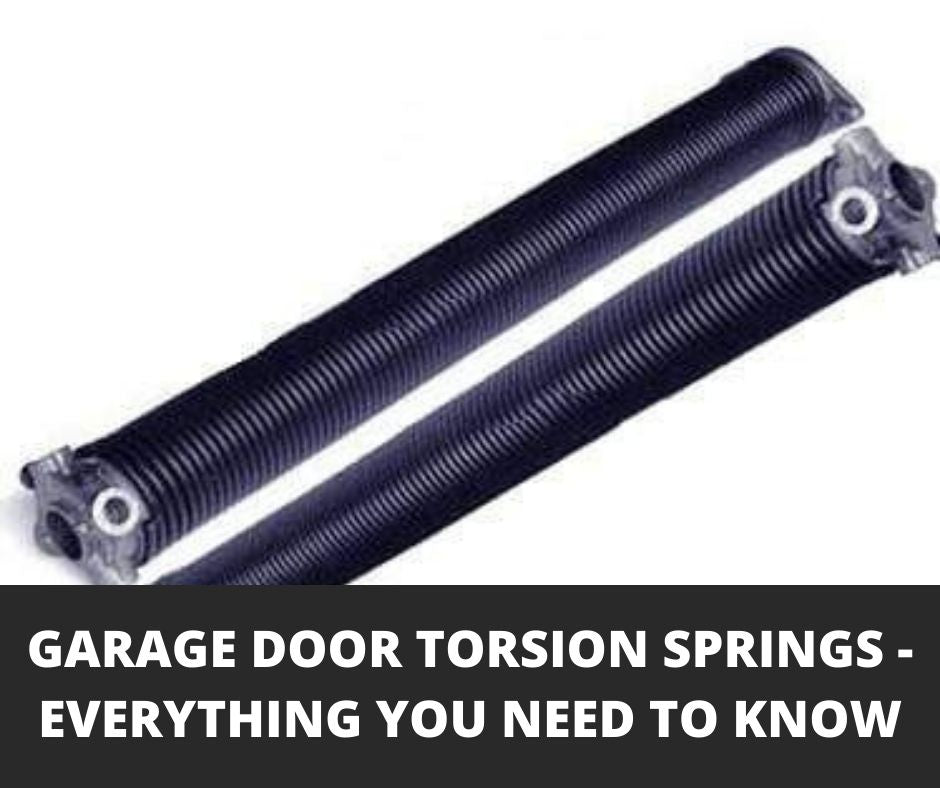
Arguably the most important component of your garage door, the torsion spring assures your garage door can be opened and closed with minimal effort. When the door is closed, the torsion spring tightens. When the door lifts open, the torsion spring releases its tension, which helps the door to rise. This is why you are able to lift such a heavy piece of equipment as a garage door so easily.
Additionally, a properly functioning torsion spring will ensure that your garage door stays in place. When you lift it halfway up, it will not come crashing back down and you won’t need to hold it in place - the torsion spring will do that work for you.
A well-installed and well-maintained torsion spring should last a long time. Generally, the standard for garage door torsion springs is 10,000 cycles (a cycle being each time the door opens and closes).
Installation
The torsion spring is located at the head or top of the garage door (before the door curves toward the garage ceiling). It is secured to a metal tube called the torsion tube, which itself fits inside the drums (one on either side of the garage door) which serve as spools for the lift cables (also one on either side of the garage door).
For garage doors with one torsion spring, the spring is placed off-center to one side of the door arm (also called a J-bar, since it is shaped like the letter J). Garage doors with two torsion springs will have the springs centered, placed together, touching, each spring extending past either side of the J-bar.
Signs Your Torsion Spring Is Not Working Properly
Since the torsion spring only has two functions - albeit extremely important functions - it is not difficult to tell when the torsion spring is not working properly. If the garage door doesn’t lift properly, or it requires a tremendous amount of effort to lift, or if it won’t stay in place once it’s been opened, then you have a problem with your torsion spring and will need to have it replaced.
Properties of a Garage Door Torsion Spring
There are 3 distinguishing characteristics or properties to look for when determining what kind of torsion spring you have on your garage door. These characteristics will help to determine the torque (the amount of weight the spring will lift) and the cycle life (an estimate of how many times the door can open and close before the spring will break).
Length
Torsion springs are generally measured in inches, and the overwhelming majority of them fall between 23 to 46 “ in length.
In order to accurately measure the length of your torsion spring, you will first need to make sure the spring has been unwound and there is no tension on it. Take a tape measure and measure from where the coil begins to where it ends. Make sure you don’t include the end cones in your measurement.
Inside Diameter (I.D.)
To get an accurate measurement of the inside diameter of your torsion spring, use a caliper. If you don’t have access to a caliper, you can also use a tape measure. But make sure you do not include the rim of the end cone in your measurement or the width of the coil. You are only measuring the diameter (or width) of the hollow portion of the torsion spring.
Gauge (Wire Size)
There are a number of ways you can tell what the wire gauge is of your torsion spring. The easiest is by simply looking at the end cone. Many manufacturers will color code the wire gauge and leave indications on the end cone. For example, if your end cone has a yellow marking then the wire size (or spring gauge) is 0.20.
Take a look at this chart to know the wire size that corresponds to the color indicated on the end cone.

If there is no color marking on the end cone, you can measure the wire gauge manually. Simply insert a slip of paper in between two coils, count over 10 coils and slip in another piece of paper. Then from that second piece of paper, count over 10 more coils and slip in another piece of paper. Then take your tape measure and measure from the first piece of paper. Compare your measurements of 10 coils and 20 coils with the chart below.

For example, if you measure the distance between the first slip of paper to the second (10 coils over) at 2 “ and the measurement from the first slip of paper to the third (20 coils over) at 4 “ then you know that your wire size is 0.20.
It’s best to take measurements of both 10 coils and 20 coils simply to verify the accuracy of your measurement, since getting the proper wire gauge is extremely important to make sure your garage door functions properly and for a long time.
Right-Hand Wound or Left-Hand Wound
For garage doors with two torsion springs, the spring on the left of the J-bar (or center support bracket) as you’re facing the backside of the garage door, is a right-hand wound spring. This means that the spring is wound in a clockwise direction. When you look down the torsion spring, the end of the wire is on the right side.
Conversely, as you’re facing the backside of the garage door, the torsion spring situated on the right of the center bracket is a left-hand wound spring. This spring is wound in a counterclockwise direction and, when looking down the torsion spring, the end of the wire will be on the left.
For garage doors with a single torsion spring, if the torsion spring is right-hand wound, it will be placed on the left side of the J-bar. And if it is a left-hand wound, it will be placed on the right.
For additional help finding out what kind of torsion spring you have, check out our short tutorial video on how to measure your garage door springs.
One Spring vs Two Springs
Many manufacturers will only include one torsion spring in their models. However, if the dimensions of your garage door are 16 x 7 or larger, we highly recommend getting a second spring. Using two torsion springs instead of one will greatly increase the life span (or cycle life) of your garage door. Also, it will greatly reduce the risk of accidents, should the torsion spring break, and will reduce or eliminate any downtime that may result from a torsion spring breaking.
Converting your garage door from one spring to two springs does not cost much money and, if you plan on keeping your garage door for many years, it will save you money in the long run.
Replacement Springs
Whether you need to replace a broken garage door tension spring or you simply want to upgrade from a one-spring model to a two-spring garage door, you can find any kind of high-quality torsion spring you need from the Garage Nation Torsion Spring Catalog.
If you need help selecting the right garage door torsion spring for your garage door, let the Garage Door Nation virtual Spring Wizard take you step-by-step through the process.
How to Replace a Garage Door Tension Spring
Hiring a professional to change your garage door torsion spring will cost you a significant amount of money. However, if you’d prefer to replace the spring yourself, we have provided a clear and thorough video tutorial.
The tools you will need to replace your garage door torsion spring include:
- Safety goggles (there is a tremendous amount of torque in a torsion spring and your safety should not be taken lightly when changing garage door torsion springs)
- A sturdy step ladder
- A vice grip
- A wrench (to remove 7/16 “ bolts and 9/16 “ bolts)
- A pair of round winding bars
If you want to replace your entire torsion system - including lift cables, center bearing, and end bearing plates - save money with the Garage Door Nation Torsion Spring Repair Kit.
 (866) 963-3157


