(866) 963-3157
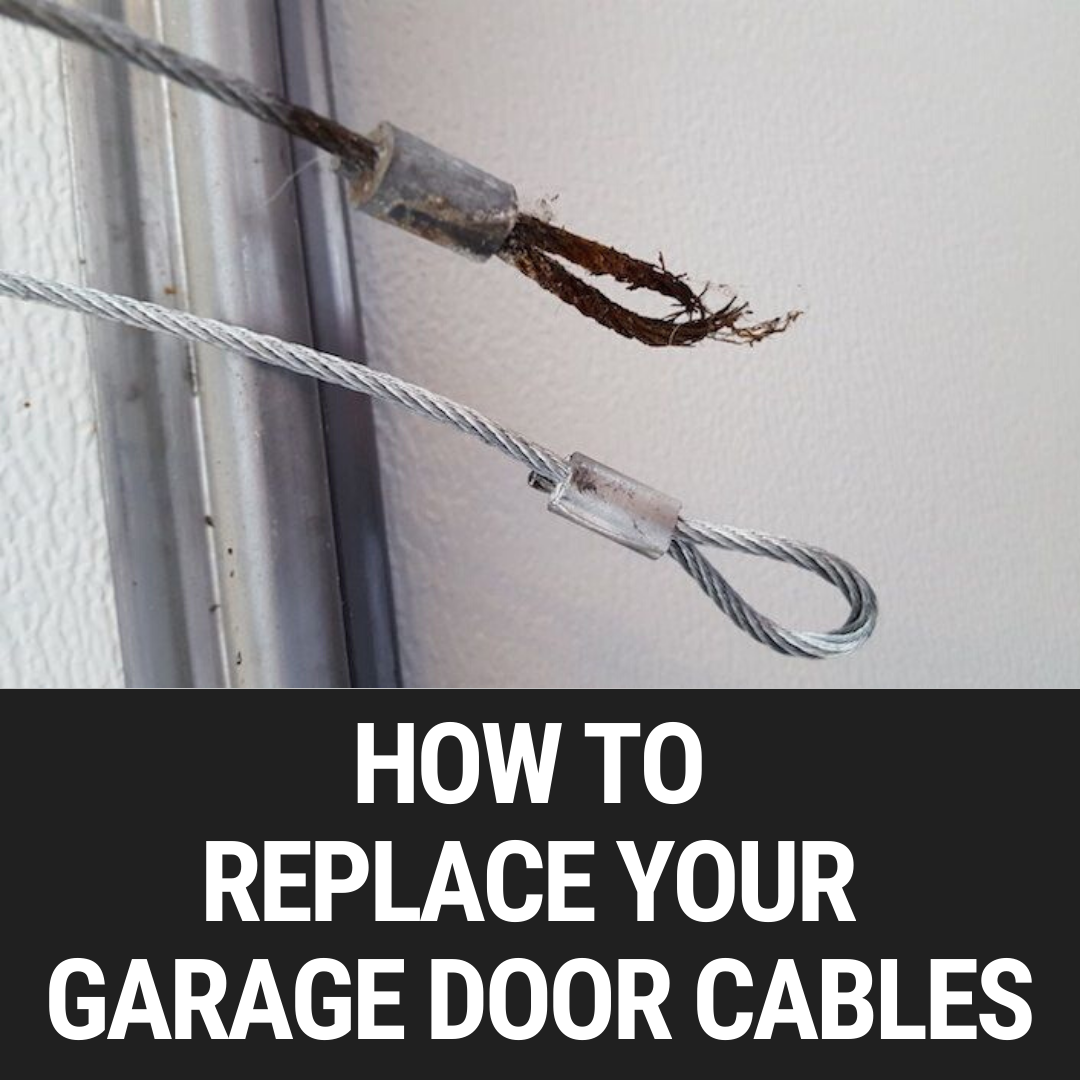
Garage door torsion cables are a critical component of your garage door opening system. A snapped cable could leave you and your car stranded in the garage. Fortunately, with the right parts and our simple guide, you can replace your garage door cables in no time!
Read on to learn how to replace your garage door cables!
How Does a Garage Door Cable Work?
Your garage door cables play a vital role in the door mechanism, and it might be valuable to learn more about them before doing any repairs. Basically, a garage door cable is a safety feature that protects you and your property in cases when garage door springs break.
The garage door torsion spring cable connects the bottom of the garage door with the cable drum, which makes it possible for the springs to lift the door from the bottom. Obviously, when used regularly, these springs become worn out, so it's vital to conduct regular inspections and check their condition.
Worn-out springs can become torn or frayed, which means they don't provide sufficient support for your garage door. This may cause some serious damage when the spring breaks because, without any additional protection, it could recoil with a significant force, causing serious damage to your car or equipment and harm to people standing nearby.
Installing the safety restraint garage door cable that can prevent that is a good idea. Most modern garage doors already have garage door cables in place.
When Should You Replace Garage Door Cables?
To keep up with all the necessary repairs, doing general garage door spring inspections once a year is a good practice. If you see any damage, further examination of the cables and springs might be advisable.
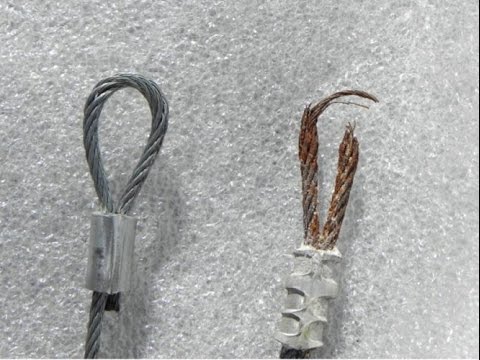
It's likely a necessity to install new garage door cables if the damage is substantial. A few signs that may point out to the damage to your garage door cables are:
- rust
- frayed wires
- broken or separated wires
- oxidation
Apart from wear and tear, which is the most common reason for cable failure, the following most detrimental causes for concern are damaged pulley bearings, improper track alignment, water damage, as well as moisture.
Suppose you know the garage doors have been exposed to challenging weather conditions. In that case, it is advisable to conduct a short examination to determine if you need to install a new garage door cable.
Regular Check-Ups
It's important to point out that doing regular check-ups on your garage door is in your best interest. Without them, you can find yourself stuck in your garage or unable to get your car out, which can cause more unpleasant complications.
If you think your skills are not sufficient enough to perform inspections and garage door cable repairs, this guide on how to replace a garage door cable can provide you with helpful information, so you can do it yourself without the need to hire specialists (which can cost up to couple hundreds of dollars.)
Tools You Will Need to Replace Your Garage Door Cables
Note: Before beginning any project, ensure that you have all the materials necessary to complete the job.
The good news is that replacing garage door parts like door cables is not overly complicated. You can perform this repair yourself, especially if you follow this guide (we strongly recommend it, especially to those who don't have much experience with such repairs.)
The size of your garage door will determine the cable size. For example, if you have a 7-foot door you will use an 8’6” cable. The sizes of the tools used for this project may also vary, so have various sizes available.
Here are the tools you will need:
- Vice grip or locking pliers
- Replacement cables
- Winding bars
- Wrenches
- Sockets
- Ratchet
- Step ladder
Meanwhile, no loose fitting clothes or jewelry should be worn, and proper footwear like work boots, gloves and safety glasses are all recommended to be worn at all times.
Beware of pointed edges and small frays on cables to avoid injury.
How to Replace Your Garage Door Cables
Follow these steps to replace your garage door cables:
- Unplug and disengage the garage door opener by pulling on the emergency release handle. This should be a red rope with a handle that is located near the opener or the top rail, depending on your opener. This allows you to open and close the door manually.
- Open up the door and use a vice grip just below the bottom garage door roller on both sides to hold the door open while you change the cables.
- Now it's time to release spring tension. Go to the center of your door and loosen the set screws on the springs with 1/4 turns. Remember to fully insert winding bars and use both bars at the same time to prevent injury. Do not get in the way of the bars.
- Continue to unwind the garage door spring until all of the tension has been removed. If your door has two springs, do the same with the second spring.
- After all of the tension has been removed from the springs, take your wrench and begin to loosen the set screws on the cable drum at the top left of the door, then remove the cable from the cable drum. Towards the bottom of the door, take your ratchet and socket of appropriate size and remove the bottom lag screw from the jamb bracket. Remove the bottom bracket, then remove the cable from the bracket.
- Install a new cable onto the bottom bracket, and thread this cable up to the cable drum at the top of the door. Remember to do this for both sides of the doors.
- Insert the cable into the slot of the cable drum. Make sure that the cable is properly set and not overlapping. Wind the cable onto the cable drum and slide the cable drum over to the bearing plate and turn the drum counterclockwise direction until the cable is tight. Now tighten the set screws. Do not over-tighten.
- While holding the cable, use your vice grip pliers on the metal rod that goes across the entire door against the wall to hold it in place and go onto the right side of the door and follow the same steps. After these steps have been completed, you can now increase the tension on the springs using your winding bars, remembering only to increase tension at ¼ turn at a time to not over wind springs.
- Remove the locking pliers from the metal rod at the top of the door and re-engage the door by pulling down the emergency release and lifting the door until you hear it double click into place. Once done, you can plug the opener back in.
Keep in mind that it is impossible to predict all repair circumstances, but the above steps should serve as a general guide. These steps must be followed in order to prevent any damage to your door and/or person.
It's helpful to check the state of springs and cables first and then order all the necessary garage door parts and equipment. You can find these products on Garage Door Nation and perform your repair in no time, thanks to our fast shipping.
We also provide many valuable guides and tutorials. You may want to check the How to Measure Springs or Find Springs By Door Weight in order to get more information about conducting repairs on your garage doors.
Replace Your Garage Door Cables With Garage Door Nation!
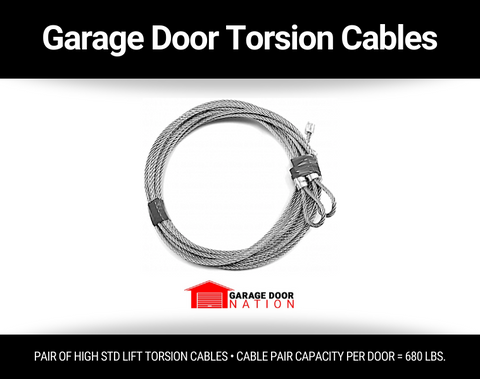
You can get the cables you need to fix your door right here at Garage Door Nation! We carry the same cables used by professional garage door repair experts used around the country!
You can also get our professional cables as part of our all-in-one garage door torsion spring repair kit, which includes cables, springs, winding bars, and center and end bearings!
And what's more, all orders over $100 ship FREE!
Get the garage door cables the pros use at Garage Door Nation today! Learn how to replace garage door cables from our extensive tutorials and conduct all the repairs. Save hundreds of dollars and enjoy the satisfaction of repairing your garage door cable yourself!